 how-to
How to Inspect a Rental Car Hauler Before Transport
Last Updated: October 23, 2026
Quick Summary
How to inspect a rental car hauler before transport involves a 15-minute walk-around sequence starting with the condition report, then systematically checking tires, wheels, frame, lights, coupler, chains, and tie-downs in daylight. Document all defects with photos and have the rental agent initial each one on the condition report before you sign or leave the lot.
- Run the inspection in this order: paperwork, full walk-around, tires and wheels, lights and electrical, hitch and chains, then photos and sign-off.
- Refuse the trailer if tires show sidewall bulges, cuts exposing cords, tread at or below 2/32 inch, or if the coupler will not latch securely.
- Photograph each defect twice, once wide for location and once close-up with a coin or tape measure for scale, and have the agent initial the condition report.
- Check that your tow vehicle's gross combined weight rating exceeds the loaded trailer weight and that the coupler and ball sizes match.
- After loading and hitching, drive a few miles on surface streets, then stop and recheck straps, coupler, lights, tire hubs, and trailer attitude.
Table of Contents
- Why Pre-Rental Inspection Matters for Car Hauler Transport
- Pre-Rental Walk-Around Inspection at Pickup
- Rental Car Trailer Inspection Checklist: Frame, Welds, and Structural Damage
- Tires, Wheels, and Tire Sidewalls Assessment
- Trailer Lights, Electrical Connections, and Safety Chains
- Hitch, Coupler, and Tie-Down Rings Verification
- Rental Trailer Damage Documentation and Condition Reporting
- Tow Vehicle and Trailer Compatibility Check
- Frequently Asked Questions
Why Pre-Rental Inspection Matters for Car Hauler Transport
A damaged or poorly maintained car hauler can ruin your transport job.
That's why how to inspect a rental car hauler before transport starts the moment you arrive for pickup.
You're trusting someone else's equipment with your vehicle, so the trailer must be roadworthy, structurally sound, and properly equipped.
Document everything. Photos create a record the rental company can't dispute; without them, it's your word against theirs.
Pre-Rental Walk-Around Inspection at Pickup
Most guides say to walk around the trailer but not how to do it during the rental handoff, when the clock is running. Here's a timed, pass/fail sequence you can run before you sign or leave the lot.
The 15-minute rental handoff sequence
Run the inspection in this order so you never have to backtrack:
- Minutes 0-2: Paperwork and condition report first. Ask for the condition report before you walk outside. Read what the agent has already written down. You want to know what damage the company has pre-documented so you can verify it and add anything missing.
- Minutes 2-5: Full walk-around in daylight. Start at the front driver-side corner and move clockwise. Do not skip the underside of the frame or the rear crossmember.
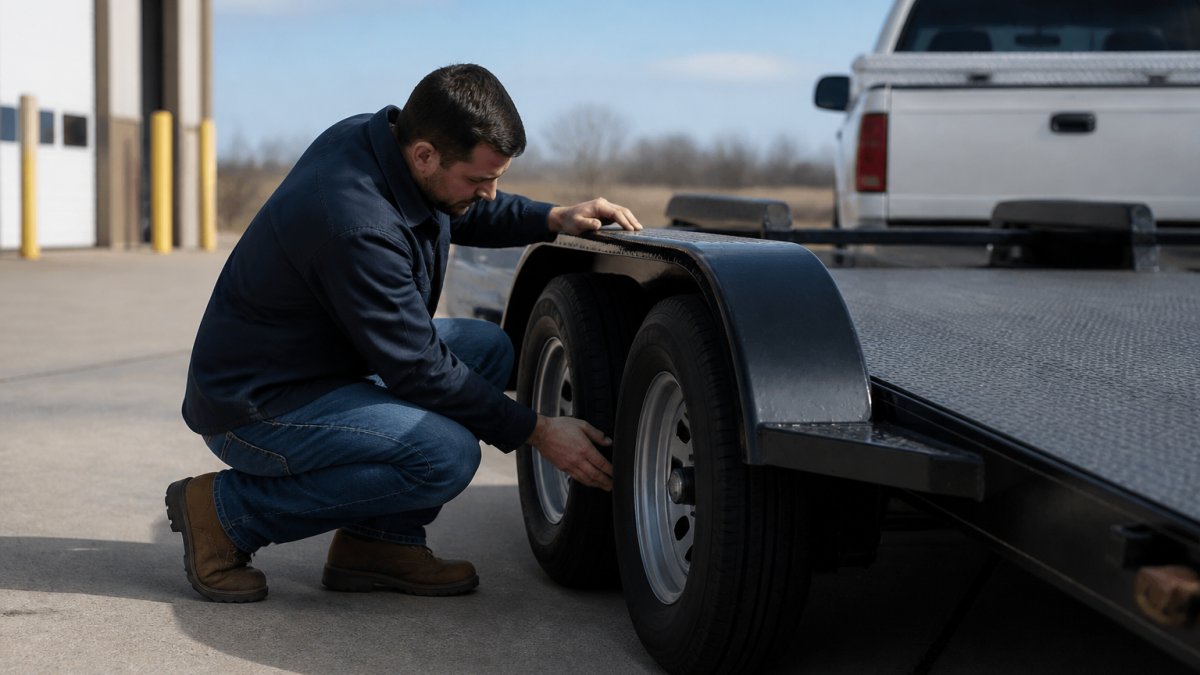
- Minutes 5-8: Tires, wheels, and bearings. Check pressure, sidewalls, tread, lug nuts, and spin each wheel by hand.
- Minutes 8-11: Lights and electrical. Have the agent or a second person cycle every light while you watch from behind.
- Minutes 11-13: Hitch, coupler, chains, and tie-downs. Test the coupler latch, inspect chain links, and check every tie-down ring.
- Minutes 13-15: Photos and sign-off. Photograph everything, then have the agent initial each defect on the condition report.
If the agent pressures you to skip steps, slow down: a 15-minute inspection is reasonable and most rental staff expect it.
Pass/fail criteria: when to refuse the trailer
Use these thresholds to decide:
- Tires: Refuse if any tire has a sidewall bulge, a cut deep enough to expose cords, tread at or below 2/32 inch, or a puncture. A tire that holds air but shows a bulge is still failing internally.
- Wheels and bearings: Refuse if a wheel does not spin freely, grinds, or has noticeable play when you rock it top-to-bottom. Refuse if lug nuts are missing or visibly loose.
- Frame and welds: Refuse if you find a crack in the frame, a weld with separation or rust bleeding from the joint, or a bend that affects the tongue or axle mounting points.
A defect that makes transport unsafe is not a negotiation point. Ask for a replacement trailer; a reputable company will swap the unit rather than send out failing equipment.
Documenting defects so the rental provider acknowledges them
Photos alone are not enough. You need the provider to acknowledge the defect before you leave.
- Photograph each defect twice: once wide to show its location, once close-up with a coin or tape measure for scale.
- Record a short video walk-around narrating what you see, stating the date and trailer unit number on camera.
- Write specific notes on the condition report. Instead of "scratch," write "8-inch scrape on curbside fender, 6 inches behind the axle."
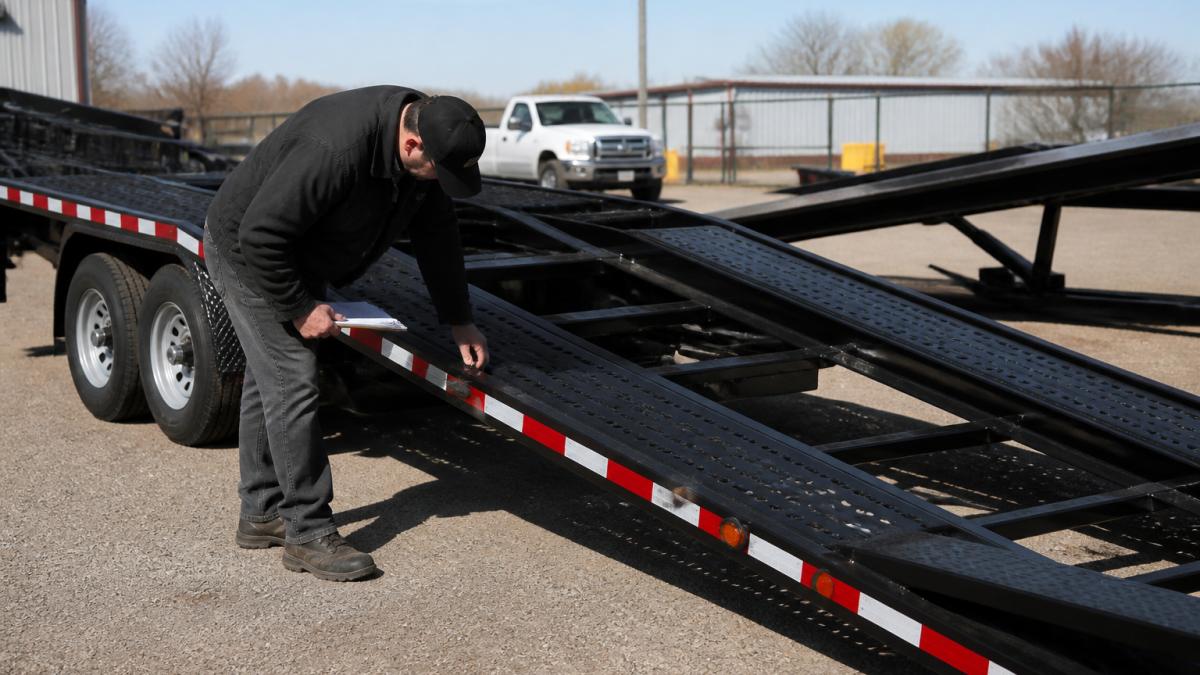
Low light, rain, dirt, and short inspection windows
Not every pickup happens on a sunny afternoon. Adjust the sequence rather than skipping it:
- Low light: Bring a flashlight and run it along the frame rails and welds at a low angle; cracks and rust bleed show up better in raking light.
- Rain: Water hides cracks and makes rust look worse. Wipe key inspection points dry before judging them, and photograph defects immediately.
- Dirt or mud: A dirty trailer can hide frame damage. Ask the company to hose off the frame and coupler area, or inspect with a rag and flashlight.
Different trailer types need different checks
A flatbed car hauler and a tow dolly don't fail the same way.
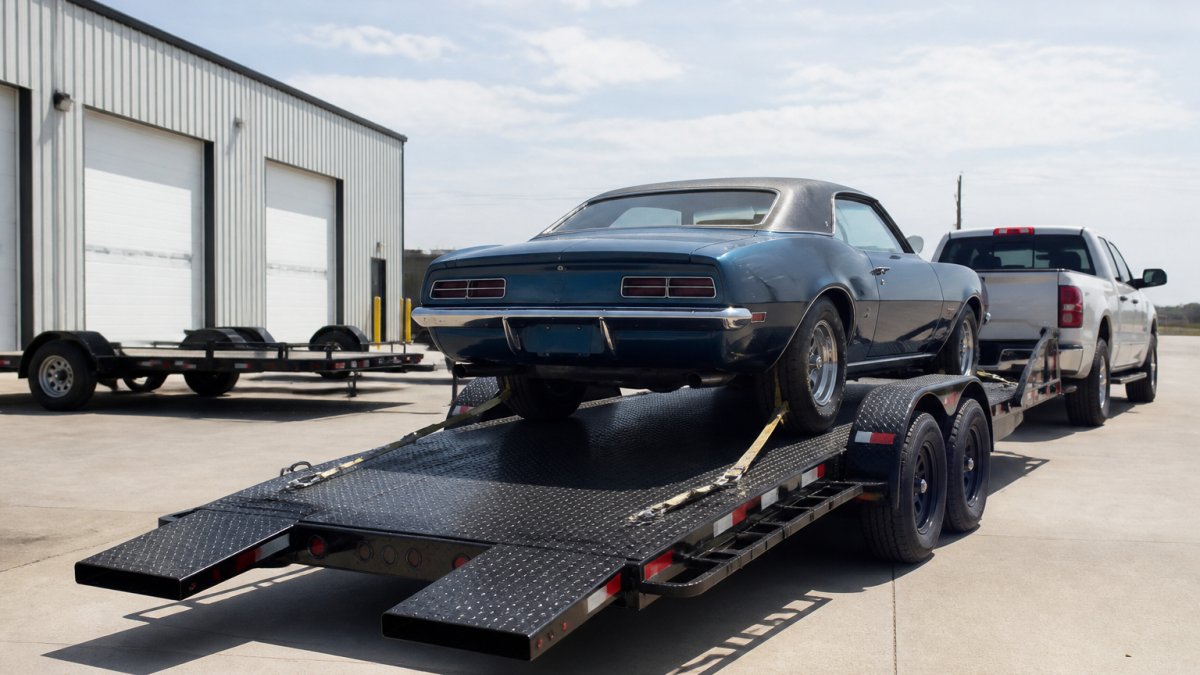
- Flatbed car hauler: Focus on the deck surface, tie-down rings, ramp hinges and pins, and winch or strap anchor points. Check that the deck is not oil-soaked or cracked and that the ramps lock securely.
- Tow dolly: Focus on the pivot and swivel mechanism, the tire baskets or straps holding the towed vehicle's front wheels, the safety chains, and the dolly's own lights. A seized pivot will fight you on turns.
Run the same 15-minute sequence, but spend your time on the components that carry the load for that trailer type.
Use these pass or fail thresholds to decide whether to accept the trailer.
| Component | Fail Condition | Accept Condition |
|---|---|---|
| Tires | Sidewall bulge, cut exposing cords, tread at or below 2/32 inch, or puncture | Proper pressure, substantial tread, no bulges or cuts |
| Wheels and bearings | Wheel does not spin freely, grinds, has play, or lug nuts missing or loose | Wheel spins freely, lug nuts tight, no grinding |
| Frame and welds | Crack in frame, weld separation, rust bleeding from joint, or bend affecting tongue or axle | No visible cracks, welds intact, no structural bends |
| Lights and wiring | Any required light does not work or connector has corrosion or missing pins | All lights work, connector clean with all pins present |
| Coupler and chains | Coupler will not latch securely, safety pin missing, or chain has broken link or damaged attachment | Coupler latches securely, safety pin present, chains intact |
| Tie-down rings | Ring bent, cracked, or loose at frame | Rings straight, tight, and securely bolted to frame |
Rental Car Trailer Inspection Checklist: Frame, Welds, and Structural Damage
The trailer frame is the foundation. A cracked weld or bent frame can fail under load. This isn't cosmetic damage.
Inspect the frame systematically. Look for:
- Visible cracks in the metal
- Bends or dents that affect structural integrity
- Rust that has eaten through the metal
Run your hand along the frame and feel for rough spots, sharp edges, or missing paint, often signs of recent damage and repair.
If you see anything questionable, ask the rental company to inspect it with you and acknowledge it on the condition report.
Tires, Wheels, and Tire Sidewalls Assessment
Tires are your only contact with the road, so bad tires are a deal-breaker.
Inspect each tire for:
- Proper tire pressure (use a tire gauge if available)
- Visible tread depth (tread should be substantial, not worn smooth)
- Bulges or blisters on the sidewalls
A sidewall bulge means the tire is failing internally and can blow out during transport, don't accept it.
Check the wheels too for bent rims, cracks, loose lug nuts, and corrosion.
If any tire looks questionable, refuse it. Tire failure during transport can cause accidents, and the rental company should have backup trailers available.
Trailer Lights, Electrical Connections, and Safety Chains
Lights are legally required and keep you visible and safe. Test every light.
Inspect and test:
- Brake lights (they should be bright red)
- Tail lights (they should be bright red)
- Turn signals (amber, working on both sides)
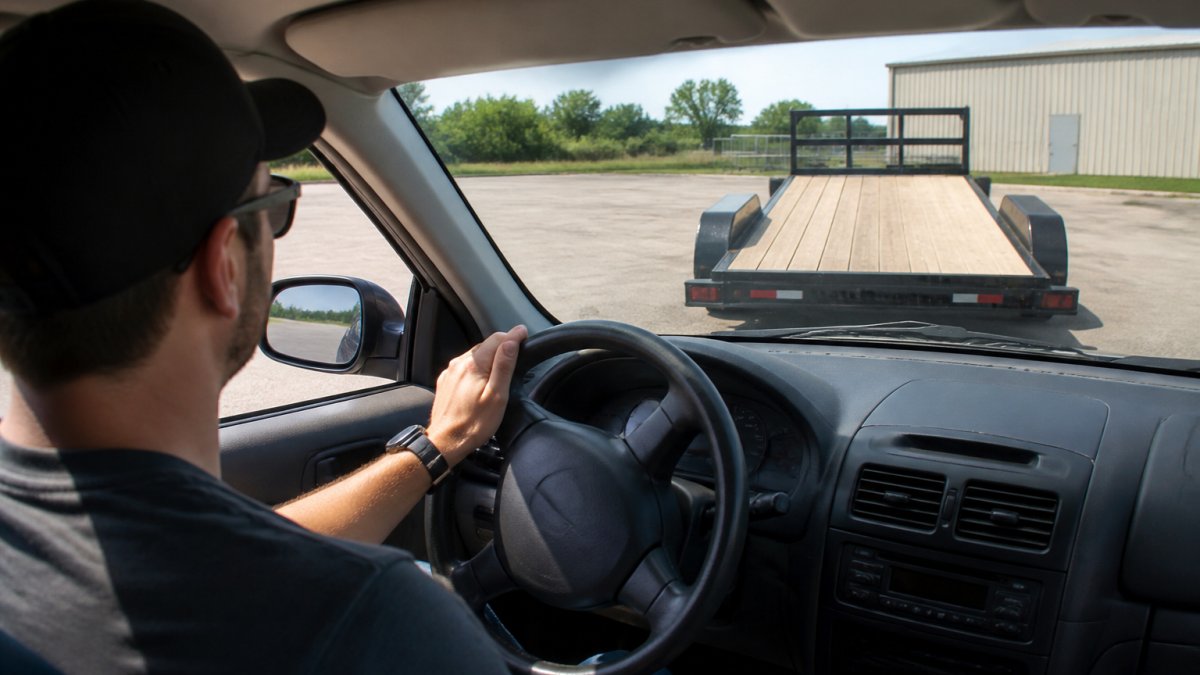
Have someone sit in the tow vehicle and activate each light while you watch from behind the trailer.
Check the electrical connection for corrosion on the pins, loose wires, damaged insulation, and missing pins.
Safety chains are your backup if the coupler fails.
Learn more about proper safety chain inspection techniques to ensure your setup is secure before you leave the lot.
Hitch, Coupler, and Tie-Down Rings Verification
The hitch and coupler connect your truck to the trailer and must be solid.
The coupler must fit snugly on the hitch ball.
Tie-down rings anchor the straps securing the vehicle.
best practices for safety chains and hitch setup emphasize the importance of secure attachment points.
For detailed guidance on verifying your complete setup, review hitch safety chain best practices.
Rental Trailer Damage Documentation and Condition Reporting
Before you leave the lot, complete the condition report with the rental company, this is your protection.
Walk through the report with the agent: point out any existing damage, have them note it on the official report, ask them to sign off, and request a copy for your records.
Don't accept vague descriptions.
If the rental company refuses to document damage, that's a red flag; professional companies expect this and want the record too.
Understanding liability for rental trailer damage helps you know where you stand if issues arise during transport.
Tow Vehicle and Trailer Compatibility Check
Compatibility is not a single number; it's the match among your tow vehicle, hitch, coupler, wiring, trailer, and loaded vehicle. A trailer can be roadworthy on its own and still be unsafe behind your truck, so check the whole setup as a system before you leave the lot.
Step 1: Confirm the tow vehicle's ratings
Pull the ratings from the driver's door jamb sticker and the owner's manual, not from memory:
- Gross vehicle weight rating (GVWR): the maximum the tow vehicle itself can weigh, including passengers and cargo.
- Gross combined weight rating (GCWR): the maximum combined weight of the tow vehicle plus the loaded trailer.
- Gross axle weight rating (GAWR): the maximum load on each axle.
A common mistake is comparing the trailer's empty weight to the towing capacity. You need the loaded weight: trailer plus vehicle plus straps, ramps, and any cargo in the tow vehicle.
Step 2: Match the hitch, ball, and coupler
The coupler and ball must match in size and rating:
- Ball size: common sizes are 1-7/8 inch, 2 inch, and 2-5/16 inch. A 2-inch coupler on a 2-5/16-inch ball will latch but won't seat correctly and can pop off under load.
- Ball rating: the ball's stamped rating must meet or exceed the loaded trailer weight and tongue weight. A 3,500-pound ball on a 7,000-pound trailer is a failure point.
- Hitch class: confirm the receiver hitch class and its weight-distributing rating if the trailer requires it; heavy car haulers often need a weight-distributing hitch.
Step 3: Verify the electrical and brake systems
- Connector type: a 4-pin connector carries lights only; a 7-pin carries lights plus electric brakes and auxiliary power. An adapter that changes pin count does not add brake capability.
- Brake controller: if the trailer has electric brakes, the tow vehicle needs a controller rated for the trailer's brake current. Test it by activating the manual override at low speed and confirming the trailer brakes engage.
- Breakaway system: confirm a charged breakaway battery and functioning breakaway switch, a legal requirement in most states for trailers with electric brakes.
Step 4: Check weight distribution and tongue weight
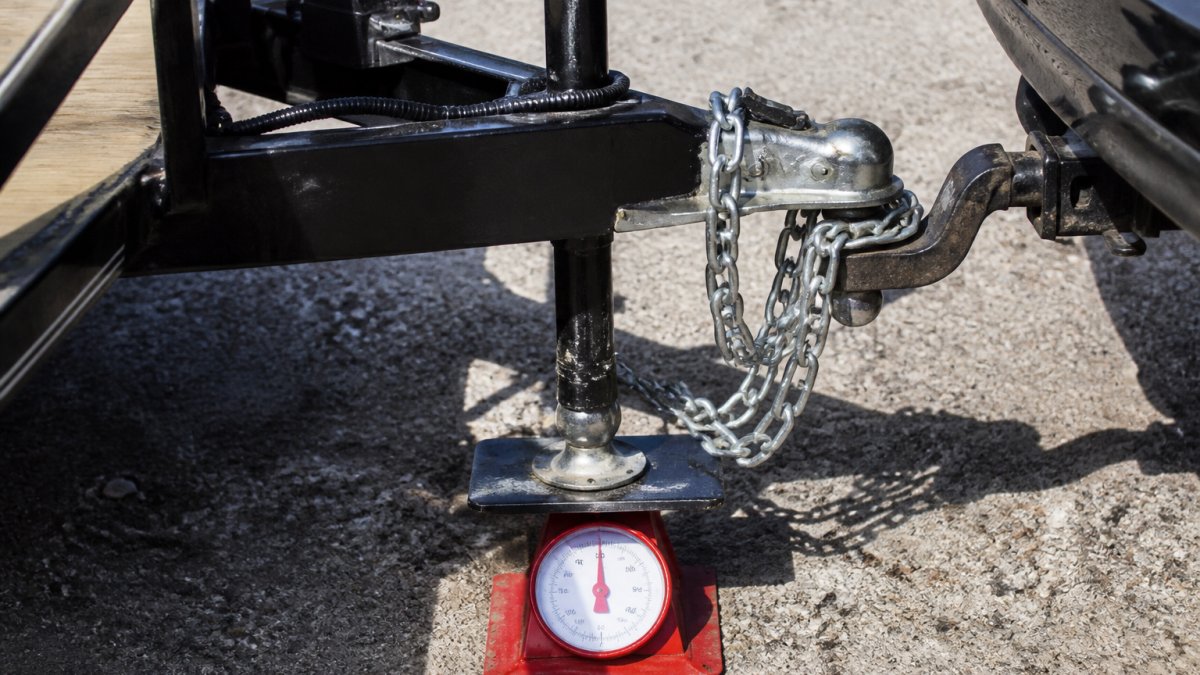
Tongue weight should generally fall between 10 and 15 percent of the loaded trailer weight for a conventional bumper-pull setup. Too little causes sway; too much overloads the rear axle and lifts the front wheels, reducing steering control.
- Load the vehicle so its weight sits slightly forward of the trailer axles, not behind them.
- Use a tongue-weight scale if the rental company has one; if not, confirm the tow vehicle is not squatting excessively at the rear.
- Check that the tow vehicle and trailer sit roughly level when loaded. A nose-up or nose-down trailer changes how the axles carry weight.
Step 5: Post-connection recheck before departure
After you hitch up and load the vehicle, run a second, shorter check:
- Coupler latched and safety pin inserted.
- Safety chains crossed under the tongue and attached to the tow vehicle.
- Breakaway cable attached to the tow vehicle, not the trailer.
Step 6: The short initial-drive recheck
Drive a few miles on surface streets, then stop in a safe place and recheck:
- Straps and tie-downs: settling can loosen them; re-tighten as needed.
- Coupler and chains: confirm nothing shifted.
- Lights: have someone watch while you brake and signal.
If any compatibility item fails, do not accept the trailer. Ask for a compatible unit or a different hitch setup. A mismatched ball, missing brake controller, or overloaded rear axle is not something you can fix on the road.
best practices for safety chains and hitch setup emphasize the importance of secure attachment points.
For guidance on assessing compatibility with older or modified vehicles, see our towing guide for older trucks.
Frequently Asked Questions
What should you inspect on a rental car hauler before towing?
Before towing, inspect the trailer frame for cracks or welds that show damage, check all tires for adequate tread and proper pressure, verify trailer lights and electrical connections work, examine the hitch and coupler for wear, confirm safety chains are intact, and inspect tie-down rings and straps for damage or wear. Document any existing damage with photographs and get the rental provider to acknowledge defects on the condition report before you leave the pickup location.
How do you confirm a car hauler is compatible with your tow vehicle?
Check your vehicle's owner manual for the maximum towing capacity and ensure the car hauler's weight rating does not exceed it. Verify your vehicle has an appropriate hitch class (typically Class II or III for car haulers) and that the coupler matches your hitch ball diameter. Confirm your vehicle's braking system and suspension can handle the loaded trailer weight. If uncertain, contact the rental provider with your vehicle's specifications.
What happens if you find damage on a rental car hauler at pickup?
Stop before signing the rental agreement. Photograph all damage clearly, including scratches, dents, bent tie-down rings, worn straps, or structural issues. Report each defect to the rental provider in writing and request they acknowledge the pre-existing damage on the condition report. Do not accept the trailer if critical safety components, lights, hitch, safety chains, or structural welds, are damaged. Refusing a compromised trailer protects you from liability claims when you return it.
How do you safely secure a car on a rental hauler?
Position the vehicle centered on the trailer deck to distribute weight evenly. Use four tie-down straps minimum, one at each wheel area, rated for the vehicle's weight. Attach straps to the vehicle's frame or suspension points, never to body panels. Tighten straps gradually in a cross pattern to prevent the vehicle from shifting. Verify clearance between the vehicle and trailer sides, and check that no parts extend beyond the trailer edges. Recheck all straps after the first 50 miles of towing.