 blog
7 Best Car Trailer Accessories for Secure Transport
Table of Contents
- Why the Right Car Trailer Accessories Matter for Secure Transport
- 1. Car Hauler Tie-Down Straps: Ratchet Straps and Axle Straps
- 2. Wheel Nets, Tire Bonnets, and Wheel Lassos for a Secure Hold
- 3. Car Trailer Wheel Chocks and Tire Stops
- 4. E-Track and X-Track Rails for Flexible Anchor Points
- 5. Trailer Ramps and Winches for Safe Loading
- 6. LED Trailer Lights and Lighting Kits for Visibility
- How to Secure a Car on a Trailer: Step-by-Step
- What to Check Before Every Haul
- Frequently Asked Questions
Last Updated: October 20, 2026
Why the Right Car Trailer Accessories Matter for Secure Transport
A car trailer is only as safe as the gear holding the vehicle to the deck. The right car trailer accessories turn a bare deck into a securement system; the wrong ones leave a classic or race car one hard brake from disaster.
This guide covers the seven accessories that matter most and how to build them into a repeatable securement routine.
1. Car Hauler Tie-Down Straps: Ratchet Straps and Axle Straps
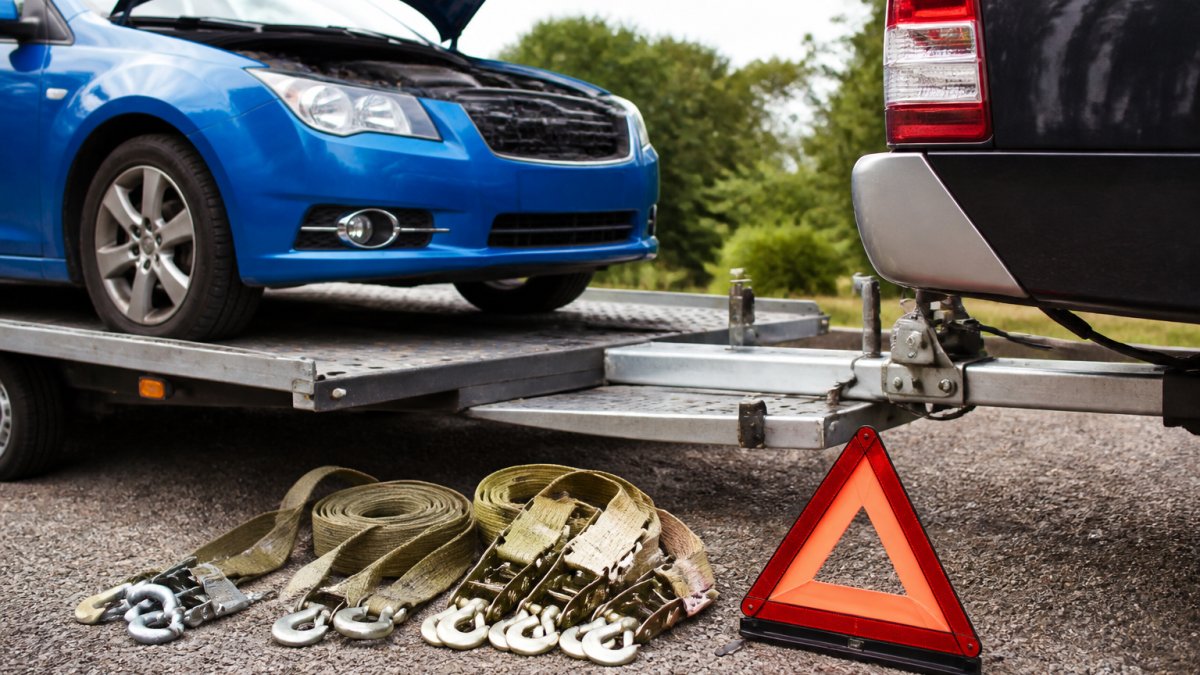
Tie-down straps are the backbone of any securement setup. Ratchet straps crank tension with a geared handle; axle straps wrap around an axle or control arm to provide a soft attachment point.
Look for wide webbing, heavy-duty hardware, and a clearly marked working load limit. Twisted snap hooks resist binding and stay seated on D-rings and stake pockets.
Wrapping a hook directly around an axle or suspension component can scar metal and stress a part not built for a side load.
Ratchet Straps vs. Axle Straps: Which Holds Better?
They aren't competitors. Ratchet straps provide the tension; axle straps provide a safe connection point. A complete setup uses both: axle strap around the axle, ratchet strap from the axle strap to the trailer's anchor point. Buy ratchet straps rated well above the weight you're securing.
2. Wheel Nets, Tire Bonnets, and Wheel Lassos for a Secure Hold
Wheel nets, tire bonnets, and wheel lassos restrain the vehicle by its tires instead of its frame, making them the preferred choice for cars with low ground clearance, delicate suspension, or expensive wheels.
A wheel net is a webbed basket that cradles the tire and pulls it down and forward against the deck. A tire bonnet is a similar over-the-tire design, usually with a single ratchet and broader webbing.
Sizing a Wheel Restraint Correctly
Fit is where most wheel-restraint purchases go wrong. A net that's too narrow won't cradle the tread; one that's too wide will bunch and pull unevenly.
Anchor geometry matters as much as fit. A wheel net needs four anchor points per tire in most configurations: two pulling down and forward, two pulling down and back, which keeps the tire from walking out of the basket under braking.
Working Load Limit Math for Wheel Restraints
Every wheel restraint carries a working load limit (WLL) on its label, and that number is per restraint, not per axle or per vehicle.
Break strength is always higher than WLL, and you should never plan a haul around it. The WLL already includes the manufacturer's design factor, which protects you when a strap sees a hard brake or a pothole.
Wheel Restraints vs. Frame Tie-Downs
Wheel restraints aren't automatically better than frame tie-downs; they solve different problems. Frame tie-downs with axle straps are faster to rig on a vehicle with obvious frame points. Wheel restraints win when the vehicle has low clearance, when paint is the priority, or when the suspension shouldn't be compressed. Many haulers carry both and choose per vehicle.
Inspect wheel restraints before every trip: webbing for cuts and UV fade, ratchets for smooth operation, and the basket or loop for stretched stitching. Retire any restraint that has seen a hard impact even if it looks intact.
3. Car Trailer Wheel Chocks and Tire Stops
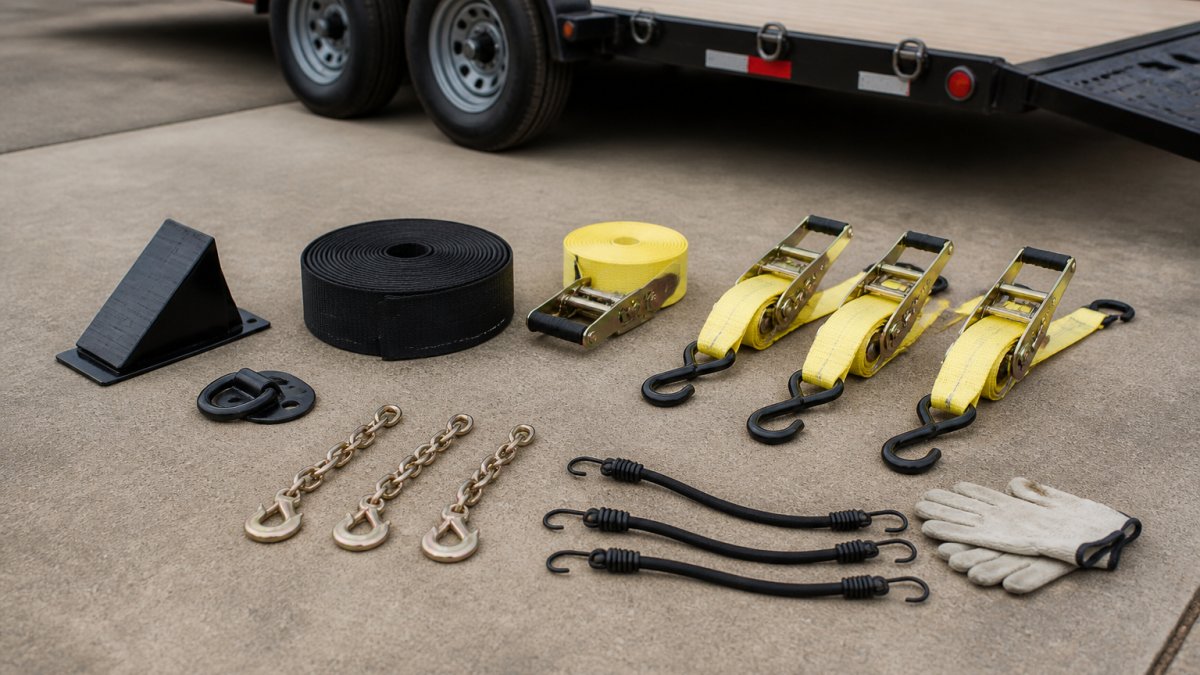
Wheel chocks and tire stops are the cheapest insurance on the trailer. A chock is a wedge placed against the tire; a tire stop is a fixed or bolt-on block the tire rolls into. Together with a strap setup, they prevent forward and backward creep during loading, braking, and steep ramps.
- Fixed tire stops: bolt to the deck and give a repeatable position for the same vehicle every time.
- Removable chocks: flexible for different wheelbases and easy to store in a toolbox.
- Chock-and-strap combos: belt the chock to the tire so it can't slide out of position.
Check chocks for bent or cracked edges. A deformed chock doesn't sit flush, and a chock that doesn't sit flush doesn't stop anything.
4. E-Track and X-Track Rails for Flexible Anchor Points
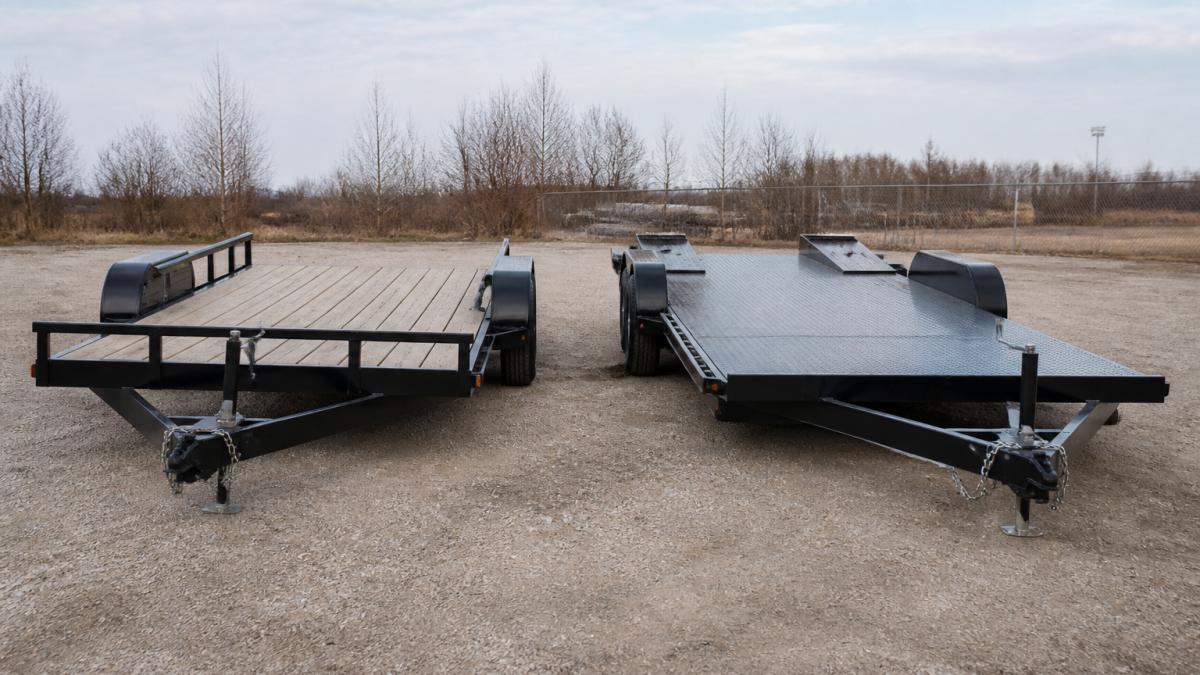
E-track and X-track rails are slotted metal rails bolted to the trailer deck or walls, turning a trailer with a few fixed D-rings into a deck with adjustable anchor points anywhere along the rail.
E-track accepts clip-in rings, strap ends, beam sockets, and shoring beams that lock into the slots. X-track works on the same principle with a different profile and fittings.
Installation Spacing and Hardware
Rails are only as strong as their fasteners. Follow the manufacturer's specified bolt size, spacing, and torque, and use the backing plates the instructions call for, especially on aluminum decks.
Mount rails where the fittings will sit directly under or beside the vehicle's tie-down points, not where they're convenient to install. A rail that forces a strap to run at a sharp angle loses capacity and wears the webbing against the rail edge.
Anchor-Point Load Math
Every clip-in ring, strap end, and beam socket has its own working load limit, usually lower than the rail's rating. The system's capacity is the lowest-rated component in the chain: rail, fitting, strap, and hook.
When you plan a tie-down layout, count the anchor points you'll actually use and total their WLL. Four corners with one ring each is four anchor points; cross-strapping may use eight.
E-Track vs. Fixed D-Rings
Fixed D-rings are simpler, cheaper, and have fewer failure points, which makes them reasonable for a trailer that hauls the same vehicle every time. E-track and X-track earn their cost when the trailer sees different wheelbases or tie-down geometries.
The trade-off is maintenance. Rails collect dirt and road grit in the slots, and a fitting that doesn't seat fully can pop out under load.
5. Trailer Ramps and Winches for Safe Loading
Ramps and winches handle the part of the job where most damage happens: getting the car on and off the trailer. Trailer ramps need a gentle enough angle that a low front lip clears the deck, and a length that matches your deck height.
A winch does the loading when a car can't drive itself, whether it's a project car with a dead engine or a race car you'd rather not start on a ramp.
6. LED Trailer Lights and Lighting Kits for Visibility
LED trailer lights are a safety accessory, not a cosmetic one.
A full lighting kit covers tail lights, side markers, and clearance lights. LEDs draw less power, last longer, and stay bright in rain and road spray.
Pair the lights with a trailer jack for stable hitching and a spare tire mount so a flat doesn't strand you at the ramp with a car half-loaded.
How to Secure a Car on a Trailer: Step-by-Step
Here's the securement routine we'd follow for any vehicle, in order.
- Park on level ground and set the tow vehicle's parking brake.
- Load the car using ramps or a winch, with a spotter guiding each front corner.
- Set the wheel chocks against the tires so the car can't roll.
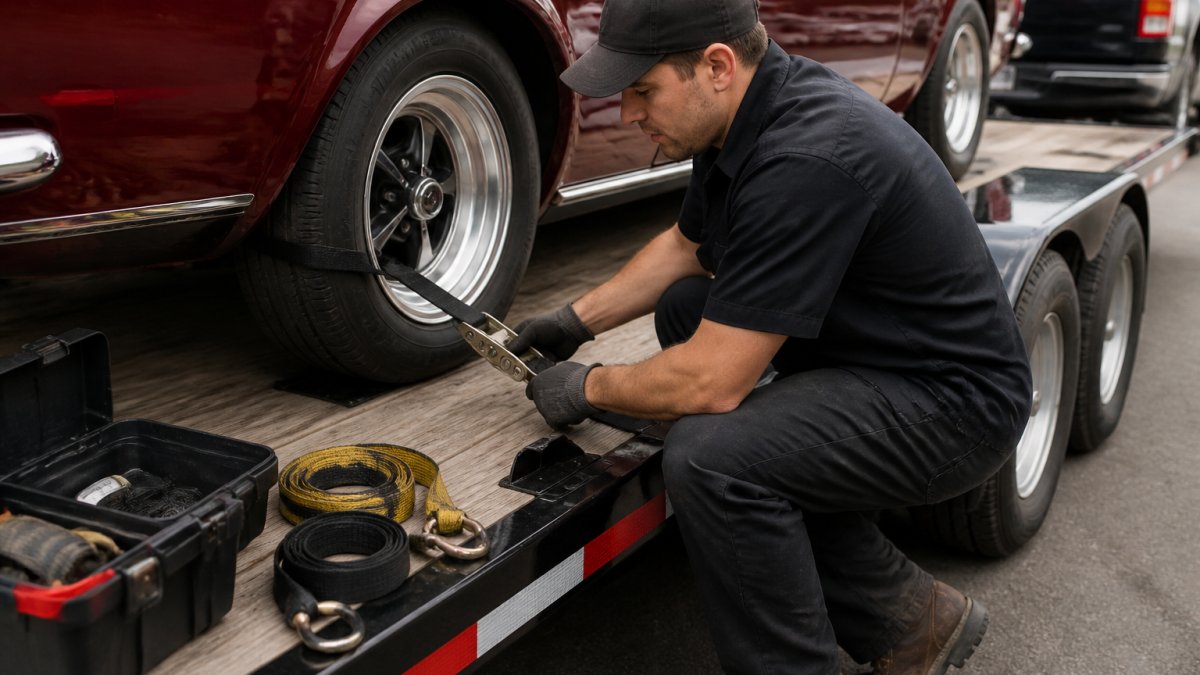
- Attach axle straps or wheel nets at the vehicle's four corners.
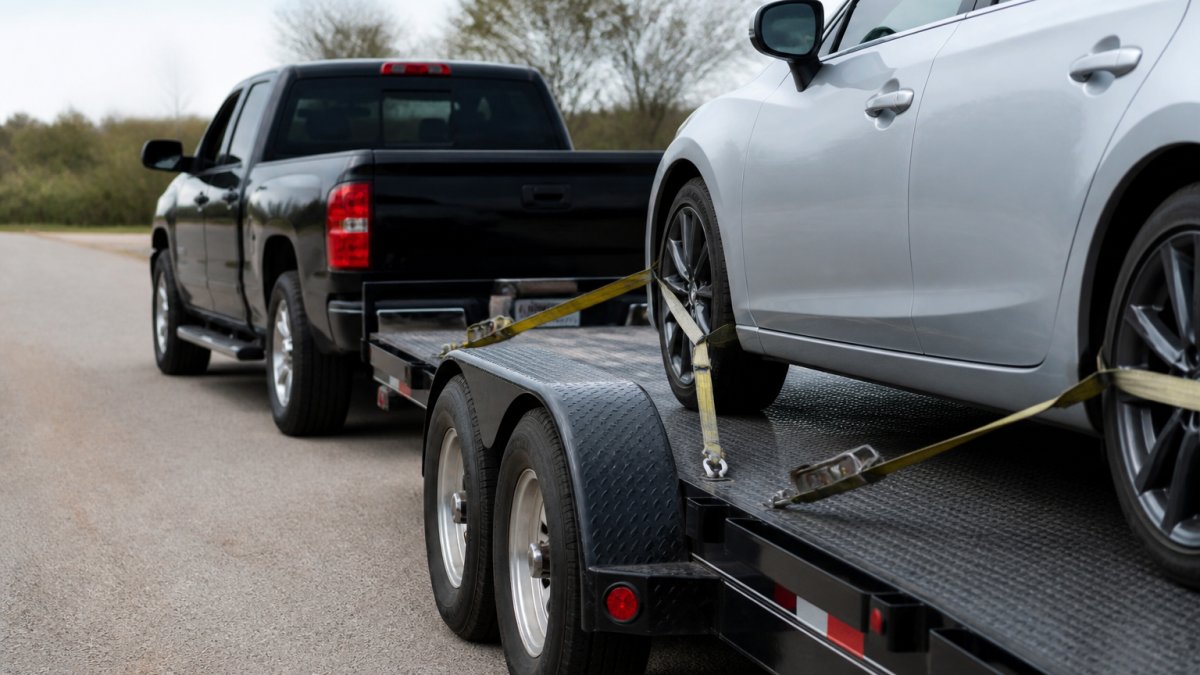
- Connect ratchet straps from each restraint to an anchor point, pulling in a cross pattern.
- Tension evenly until the suspension compresses slightly, then lock each ratchet.
- Check the lighting kit and confirm every light works.
- Re-check straps after the first few miles and at every stop.
The 60/40 Rule and Load-Rating Math
Two numbers decide whether your setup is safe: the working load limit and the break strength. The WLL is the maximum load a strap or restraint is rated to hold in normal service; break strength is the point where it fails. Never plan a haul around break strength.
A practical rule is to keep your total securement capacity well above the weight of the vehicle, with margin for braking and road vibration. For the rules that govern trailer equipment on the road, check the Federal Motor Carrier Safety Administration regulations and your state's trailer equipment requirements before you haul.
What to Check Before Every Haul
A short pre-trip inspection catches most failures before they happen. Walk the trailer and check:
- Webbing on every strap for cuts, fraying, or UV damage
- Ratchet mechanisms for smooth operation and locked handles
- D-rings, E-track clips, and stake pockets for cracks or loose bolts
Store straps coiled and out of direct sun when they're not in use. Sun and weather break down webbing faster than most people expect, and a strap that looked fine last season can fail on the first hard brake of the new one.
If you'd rather not maintain a trailer of your own, that's where we come in. 402 car hauler rentals keeps dependable trailers ready for project cars, race cars, and everything in between, with flexible booking terms and rates built for hobbyists and shops alike.
Frequently Asked Questions
How many tie-down straps do you need to haul a car?
Use at least four tie-down straps, one at each corner of the vehicle, attached to the frame or axle and anchored to the trailer's D-rings or E-track. For heavier vehicles or long highway trips, many haulers add a second set for redundancy. Each strap must be rated for the load: check the working load limit, not just the break strength, and make sure the combined rating exceeds the vehicle's weight. Inspect straps for fraying or worn ratchets before every trip, and recheck tension after the first few miles.
Are wheel straps or axle straps better for securing a car?
Both work, but they suit different jobs. Axle straps wrap around the axle or frame and are quick to attach, which makes them a common choice for project cars and race vehicles. Wheel nets and tire bonnets cradle the tire itself, so they avoid putting stress on suspension components and are preferred for classics or low-clearance cars. Many haulers use axle straps on the rear and wheel nets up front. Whichever you choose, confirm the strap's working load limit covers your vehicle and that anchor points are rated for the same load.
Should you use wheel chocks when transporting a car?
Yes. Car trailer wheel chocks and tire stops add a physical block in front of and behind the tires, so the vehicle cannot roll if a strap loosens or fails. They are especially useful on ramps and during loading and unloading. Place chocks snug against the tire, then tension the straps. Chocks do not replace tie-down straps; they work alongside them. Check that chocks are not cracked or bent, and store them so they do not shift during transit.
How often should you check tie-downs during a trip?
Check tie-downs after the first 10 to 15 miles, then at every fuel stop or roughly every 100 to 150 miles. Straps can stretch and settle as the vehicle shifts on its suspension. At each stop, feel for slack, look for frayed webbing or bent ratchet handles, and confirm the vehicle has not moved on the deck. In rain, snow, or extreme heat, check more often because straps can loosen or degrade faster. A quick walk-around takes two minutes and prevents most on-road failures.
Securing a car for transport comes down to a system, not a single product. Straps, wheel restraints, chocks, anchor rails, ramps, a winch, and working lights each cover a different failure point, and skipping any one of them leaves a gap. 402 car hauler rentals gives you a trailer built for that system, with reliable equipment, flexible terms, and competitive rates for every haul. Get started with 402 car hauler rentals and tow with confidence on your next transport job.